Creating a Flow
A flow is the logical sequence of steps a user defines to generate a document. Users can define and run their flows using the Smart Flows Project Console. To create flow, a user needs the security role of Administrator![]() Administrators have access to all components of Smart Flows with no restrictions. They are also able to assign and manage the roles of other users. or Designer. This page describes the steps to create a flow in Project Console.
Administrators have access to all components of Smart Flows with no restrictions. They are also able to assign and manage the roles of other users. or Designer. This page describes the steps to create a flow in Project Console.
Steps for creating a flow
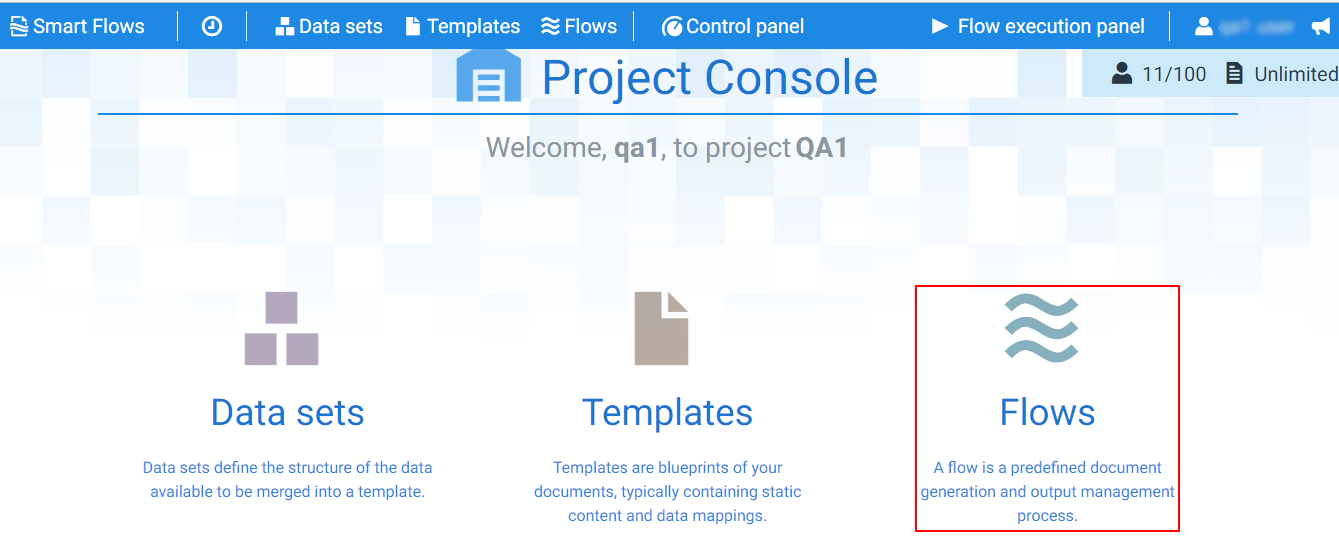
| 1. | In Project Console, select the Flows button. |
The Flows page displays.
| 2. | Select the Create button. |
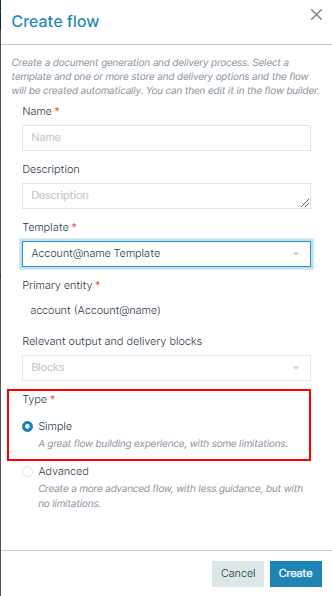
The Create Flow dialog displays.
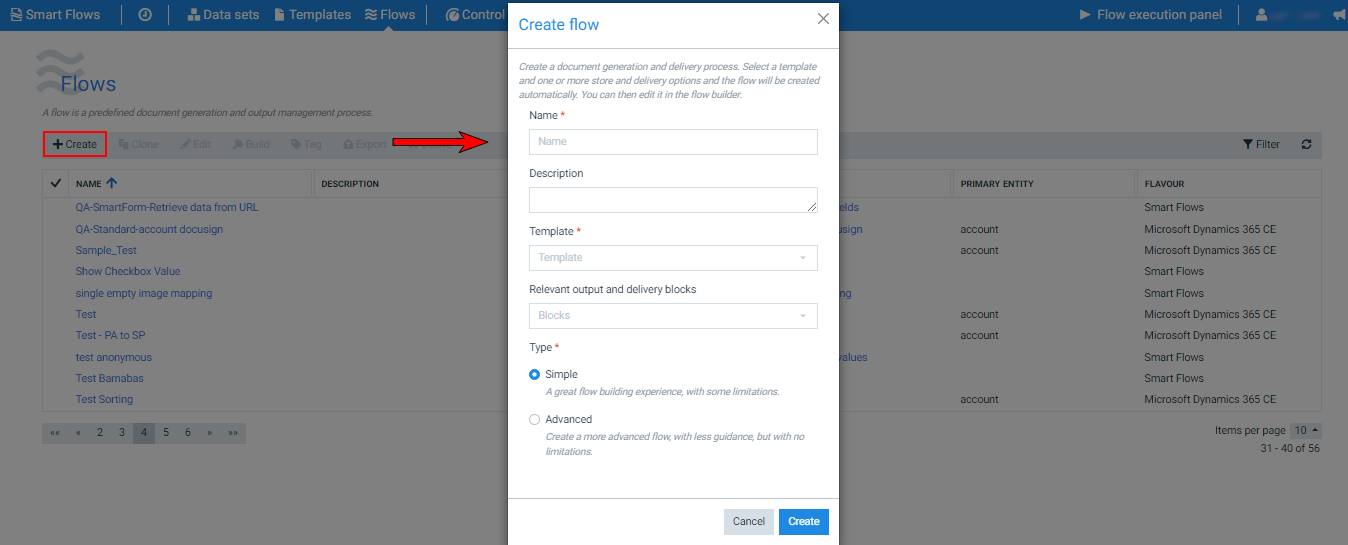
| 3. | In the Name field, input the name of the flow. |
| 4. | (Optional) In the Description field, input a description for the flow. |
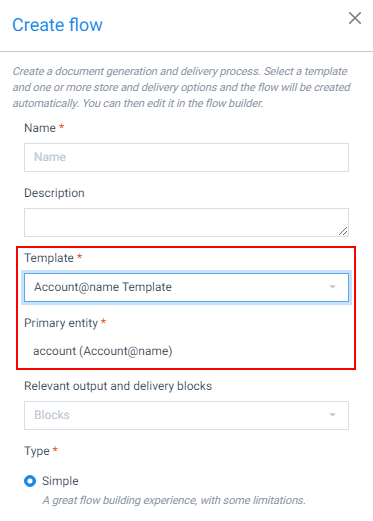
| 5. | In the dropdown menu, select the Template you want to use for your flow. |
The Primary entity field is auto-selected. The template uses a Primary entity![]() The primary entity extracts data from the data set. to extract data from the data set.
The primary entity extracts data from the data set. to extract data from the data set.
Decision Point
The default in the Relevant output and Delivery blocks is Blocks. You can either select your desired output here or set this in the flow steps after creating a flow in the Flow Builder.
| 6. | (Optional) From the dropdown menu, select the Relevant output steps. |
Decision Point
The Advanced type gives you more freedom to control each flow block. However, once a flow is set to Advanced, it cannot be reverted back to Simple.
| 7. | Select the Type of flow. |
By default, the flow is set to Simple.
| 8. | Select the Create button. |
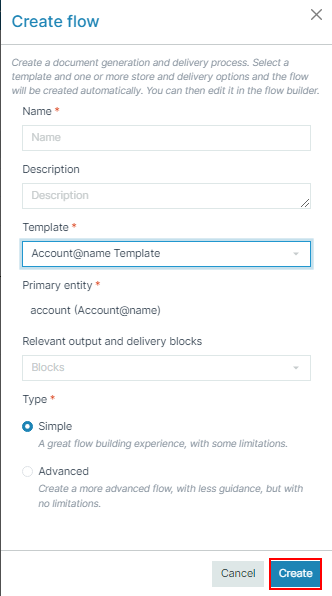
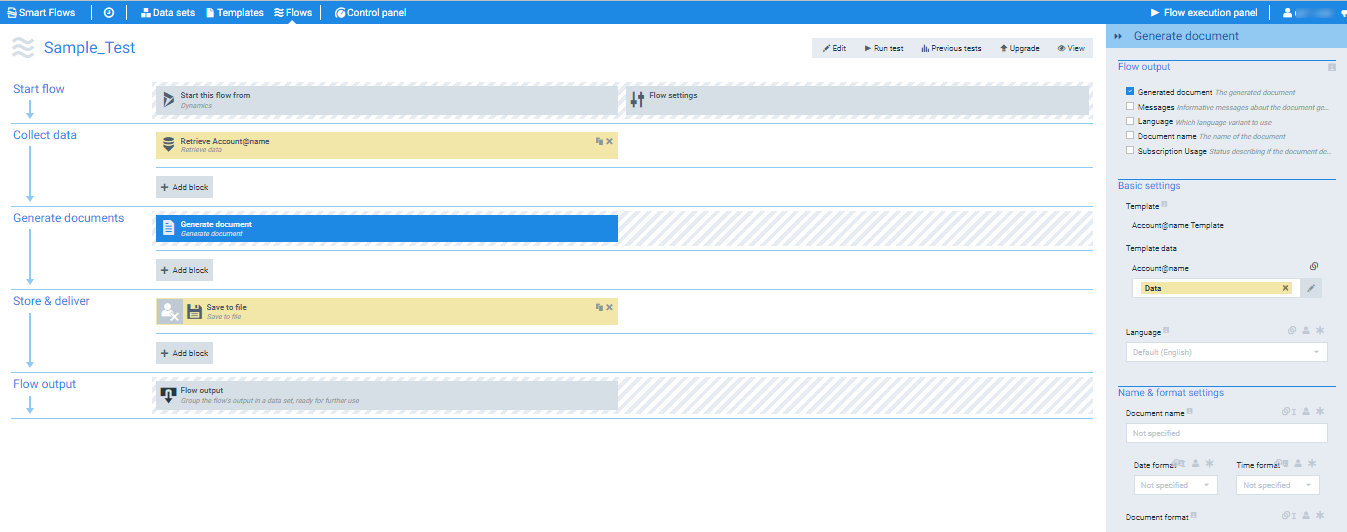
You are redirected to Flow Builder, which allows you to define the steps for your generated document.